I had some old tutorials out there that use outdated PHP libraries to access a MySQL database. I wanted to update these to use the latest PHP library called MySQLi. MySQLi is the improved database driver for use in the PHP scripting language to provide an interface to MySQL databases. It replaces both PHP’s MySQL extensions and PHP Data Objects (PDO).
Connecting to a MySQL Database Using PHP
This tutorial is going to assume you have a web server capable of running PHP and a test MySQL database available. First, we need to connect to the database using PHP.
<?
$mysqli = new mysqli("localhost", "root", "root", "local");
?>
The code above first creates a connection to your database. The order of the parameters is server/host, user, password, database name.
Next, we’ll add some code to validate our connect. If there is an error we will output it. Otherwise, we’ll output the host information so we know we have a connection.
<?
$mysqli = new mysqli("localhost", "root", "root", "local");

if ($mysqli->connect_errno) {
    echo "Failed to connect to MySQL: (" . $mysqli->connect_errno . ") " . $mysqli->connect_error;
}

echo $mysqli->host_info . "\n";
?>
Now when I execute this code I see the following in my browser:
Localhost via UNIX socket
Next, we’ll add our SQL query. I have a test WordPress database and I want to return the usernames of all users. To do that in my dastabase I want to run the query “Select user_login from wp_users”. I will store the results into a variable called results. If an error occurs I will output the error statement.
<?
$mysqli = new mysqli("localhost", "root", "root", "local");

if ($mysqli->connect_errno) {
    echo "Failed to connect to MySQL: (" . $mysqli->connect_errno . ") " . $mysqli->connect_error;
}

if (!$results = $mysqli->query("SELECT user_login FROM WP_USERS")){
    echo "Select statement failed: (" . $mysqli->errno . ") " . $mysqli->error;
}

echo var_dump($results->fetch_all());
?>
echo var_dump($results->fetch_all()); Is going to print the results array to our screen. We can take that array and output it as an HTML list pretty easily.
We’re going to replace fetch_all() with fetch_assoc. This gives us an associative array where the key is the column name and the value is the column value. This allows us to select the username column that is called user_login.
<?
$mysqli = new mysqli("localhost", "root", "root", "local");

if ($mysqli->connect_errno) {
    echo "Failed to connect to MySQL: (" . $mysqli->connect_errno . ") " . $mysqli->connect_error;
}

if (!$results = $mysqli->query("SELECT user_login FROM WP_USERS")){
    echo "Select statement failed: (" . $mysqli->errno . ") " . $mysqli->error;
}
?>

<ul>
<? while ($row = $results->fetch_assoc()) { ?>
  <li><?= $row['user_login']; ?></li>
<? } ?>
</ul>
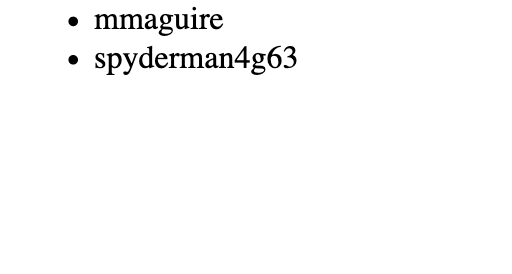
Now, what you see is we create a while loop where $row = $results->fetch_assoc(). This gives us a $row variable to use in the loop that has the key we want. So inside the loop we just output the value using the ?= shortcut.
Our results look something like this. Showing the two users of our WordPress application.
Hopefully, you found this tutorial helpful. Please leave a comment if you have any questions. Thanks!
Johnathan Ward is an experienced developer and consultant that writes tutorials to help other developers. In his day job, he is an IBM Watson Consultant with several years of experience deploying and customizing Watson Explorer solutions.