In a previous tutorial, I talked about Create a Local WordPress Installation Using Local by FlyWheel. Today we take that one step further and we will back up a live WordPress site to our local environment. This will give us a mirror of our live WordPress blog to do development on.
Download and Install Local by Flywheel
Go to the Local by Flywheel website and click the download button. Select your platform and then fill out the personal information and click the “Get it Now” button.
When your download completes follow the instruction in the installer to install Local.
If you have problems with the install see our other tutorial: Create a Local WordPress Installation Using Local by FlyWheel.
Backup Your Existing WordPress Site Using cPanel
We’re using cPanel to back up our data. If you don’t have cPanel you will need to manually export the database and all of the files in your public_html folder.
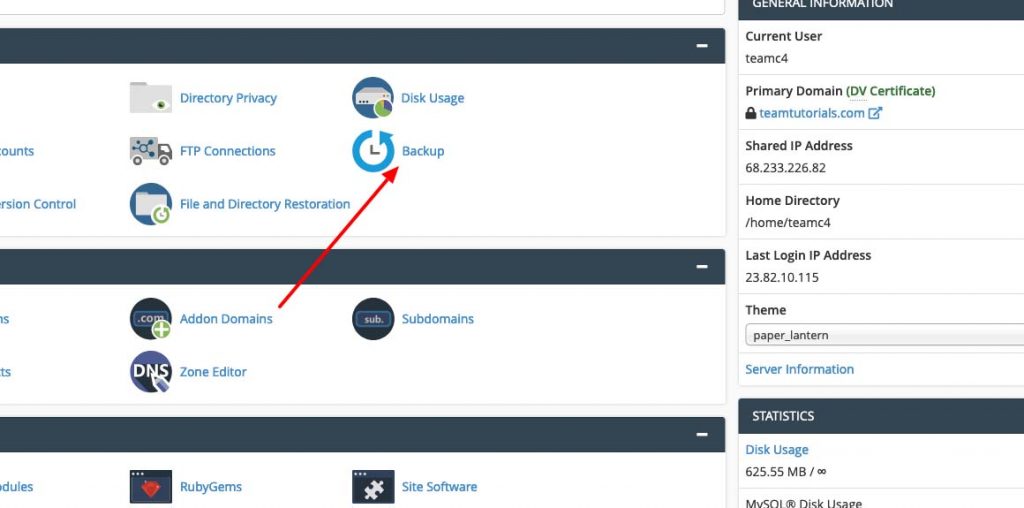
Log in to your cPanel admin panel. This is usually at yourdomain.com:2082
Click on the backup link.
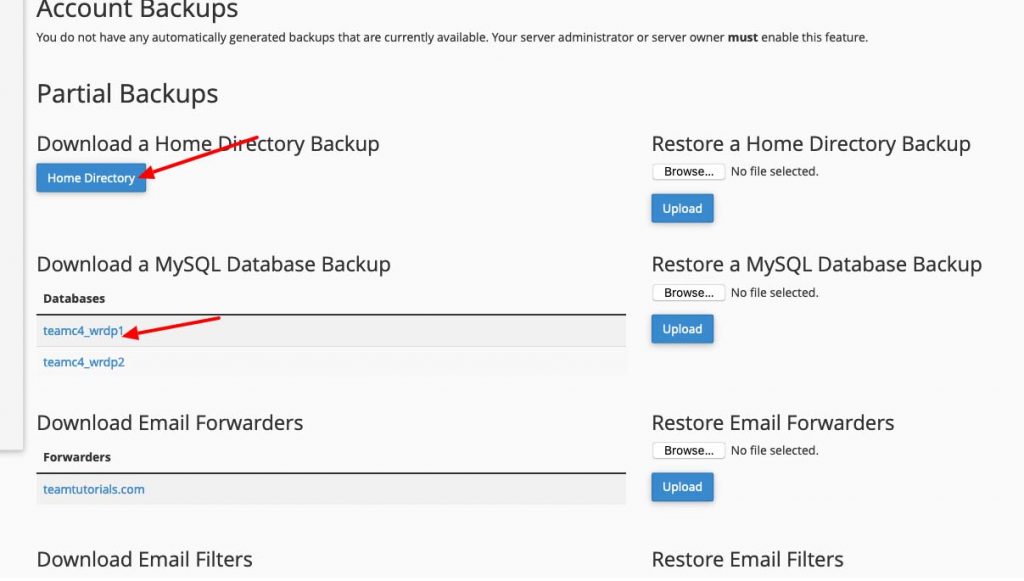
Then select the “home directory” backup and the MySQL backup for your WordPress database. Download both of these files.
Creating the Import File
Local expects a .zip file with the SQL file in the root directory and a copy of your WordPress site in the .zip file. To do this we first must extract both backup files.
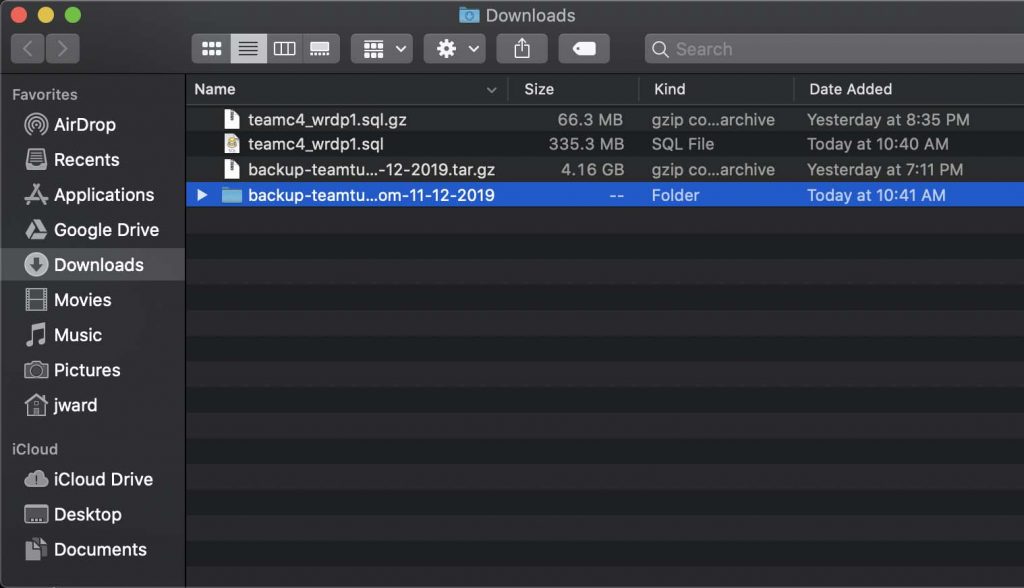
Next, we need to go into the file backup and find the public_html folder.
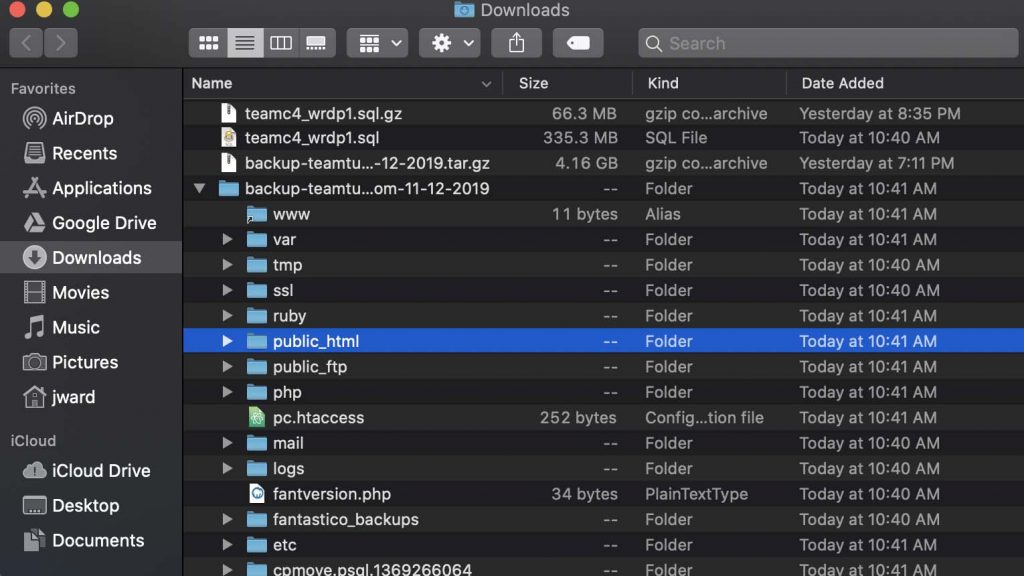
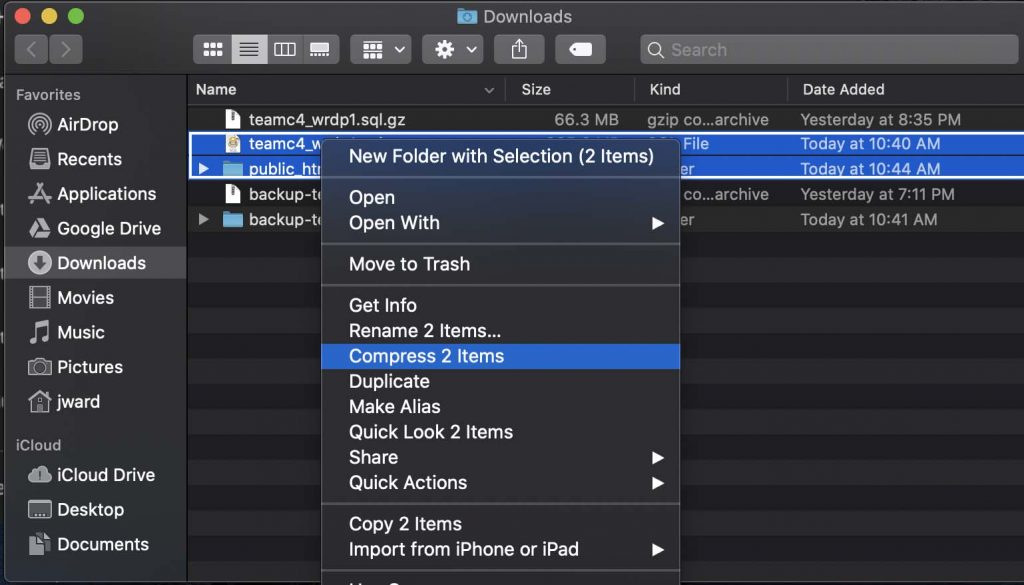
Copy the public_html file back to your main download folder. Then select the public_html and .sql file and add them and create a zip file of these.
Importing Your WordPress Files into Local
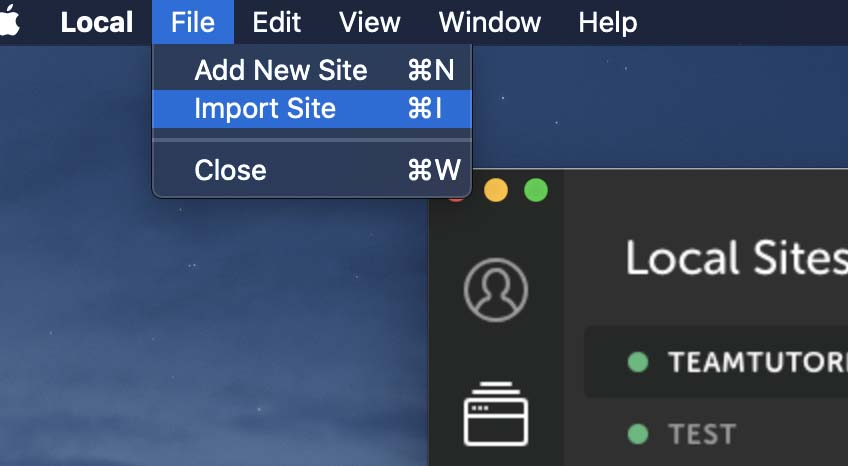
Now we need to import the .zip file into Local. Firs to open local. Then on the top menu select File > Import Site.
Select the .zip file that you just create and click open. Now you can name your site and modify the domain if you wish.
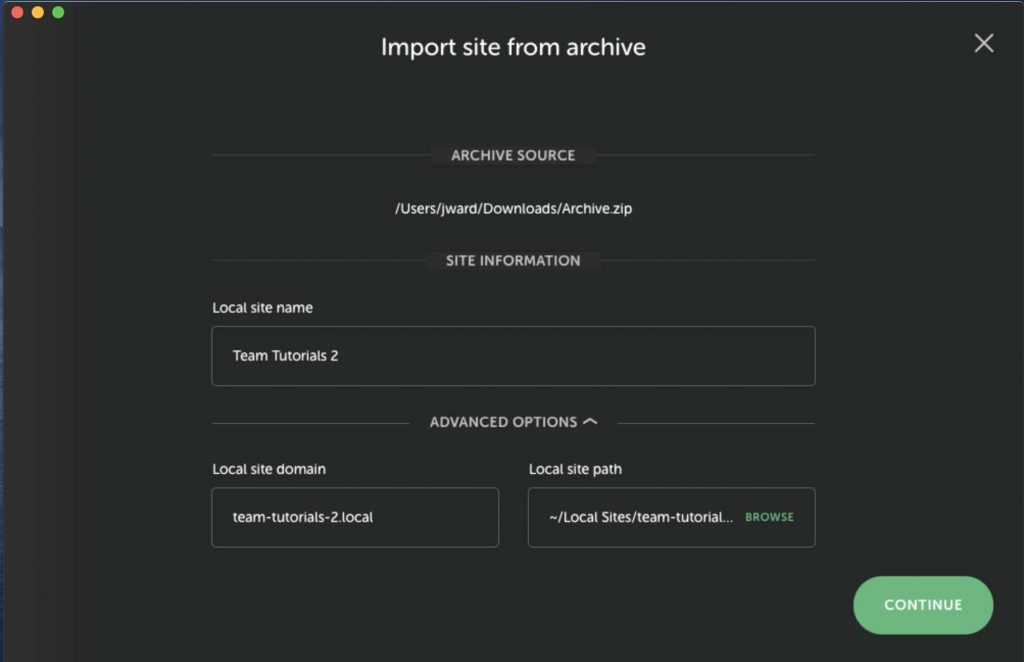
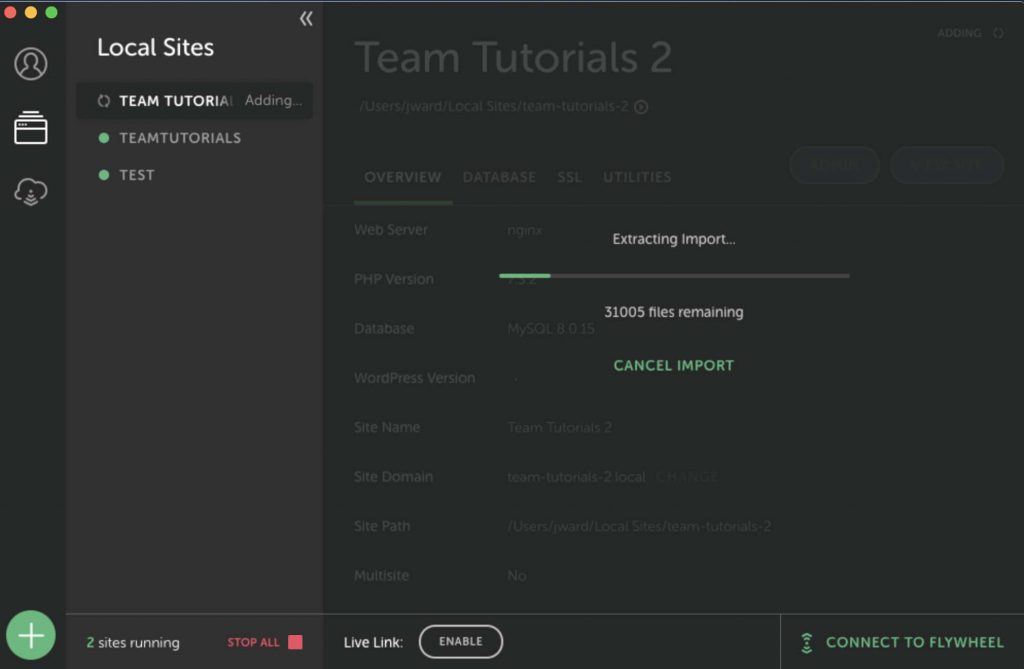
Click continue. Local will take a few minutes to import all of your data and provision the server.
Test Your Local WordPress Site
After Local provisions the server we can test our new WordPress site by clicking on the View Site button in Local.
Then your site will load in the browser.

Now you can use your local site just like you would use your production WordPress site. Your admin user/name and password will be the same as your production site. You can do all of your development, test new themes, plugins, etc in this environment without affecting your live website. I hope you found this tutorial helpful. Please leave a comment if you have any questions.
Johnathan Ward is an experienced developer and consultant that writes tutorials to help other developers. In his day job, he is an IBM Watson Consultant with several years of experience deploying and customizing Watson Explorer solutions.

