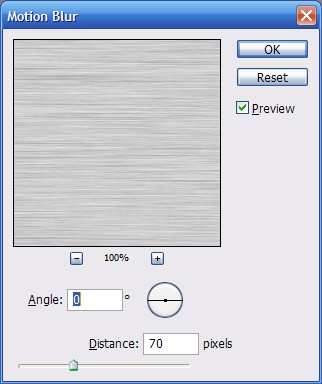
Apply a Motion Blur of 70 pixels.
Your image should look like this
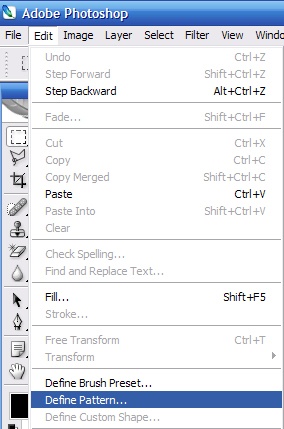
Now make the new image a pattern by selecting Edit > Define Pattern
Give the pattern name and press OK. You can now close the metal image and return to our UFC logo.
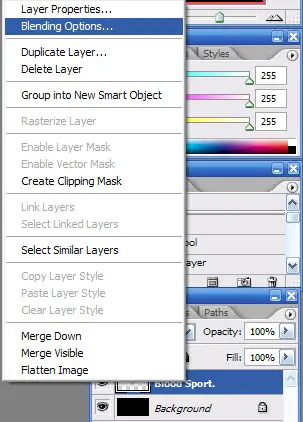
On our UFC Image select the layer that we just created by combining the two. Right click on it and select Blending Options.
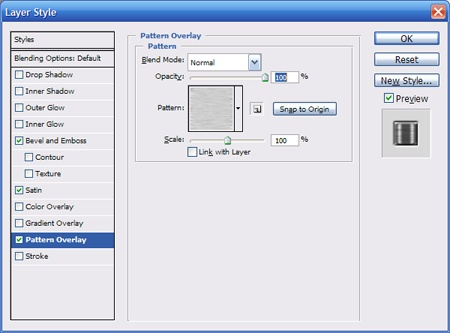
Apply the following Blending Options:
Pattern Over lay. Select your new pattern by clicking on the existing pattern and browsing to your metal one. Make sure you uncheck the box that says “Link with Layer” and then press Snap to Origin button. This should line up the pattern.
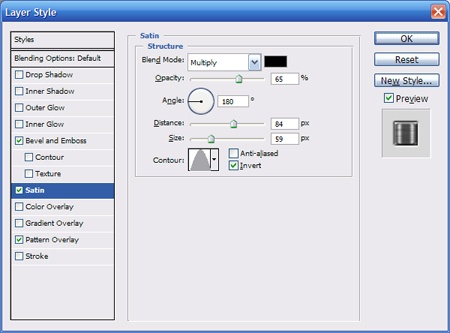
Now apply these Satin Settings.
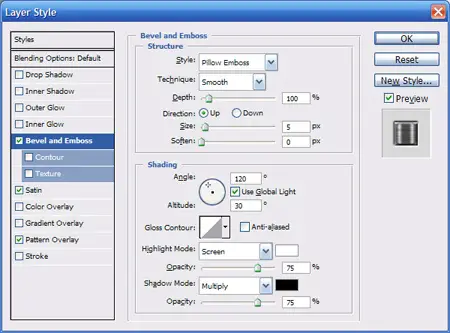
To finish it off apply these Bevel and Emboss settings.
You can apply the changes by pressing the OK button. You image should now look like this.
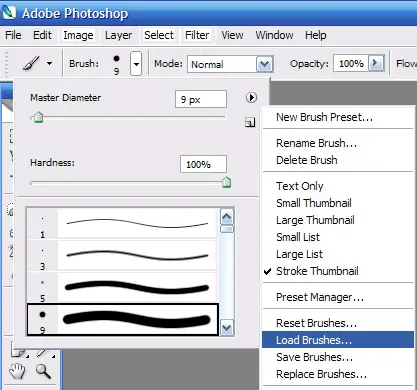
It looks good, but it is too clean to represent the UFC. We need to add some blood. Create a new layer. Download these brushes from AngryBlue. Unzip the brushes and load them in Photoshop using the brush tool.
Select the brushed that you just downloaded.
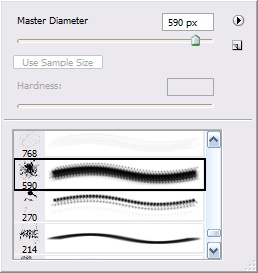
Now we will select a brush and add some blood to our new layer. The brush a used is this one.
Now add some blood using #a2171a as your foreground color.
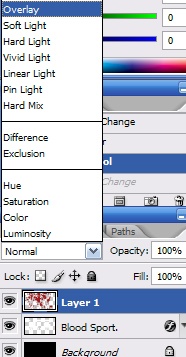
Now change the blend mode of the layer to overlay.
Your final image should look like this. I nice bloody logo to represent the UFC.
Johnathan Ward is an experienced developer and consultant that writes tutorials to help other developers. In his day job, he is an IBM Watson Consultant with several years of experience deploying and customizing Watson Explorer solutions.

